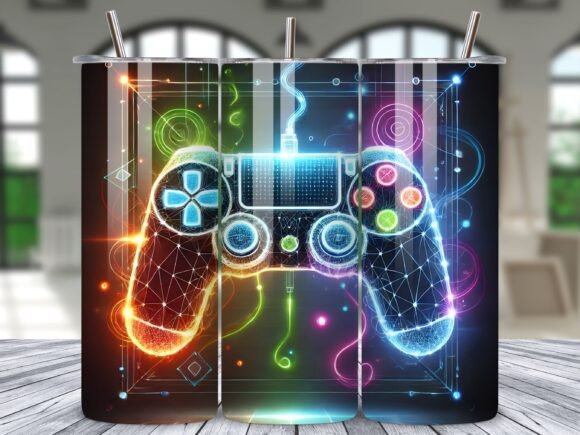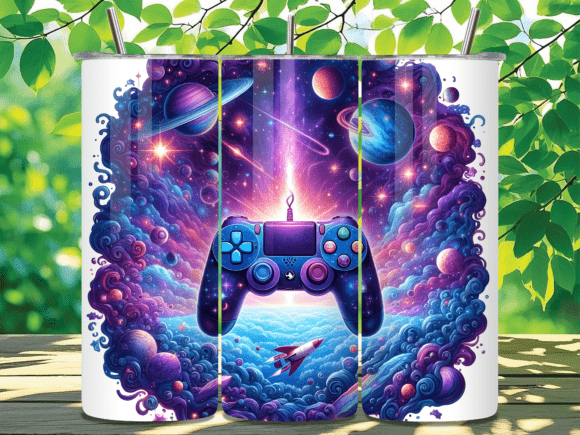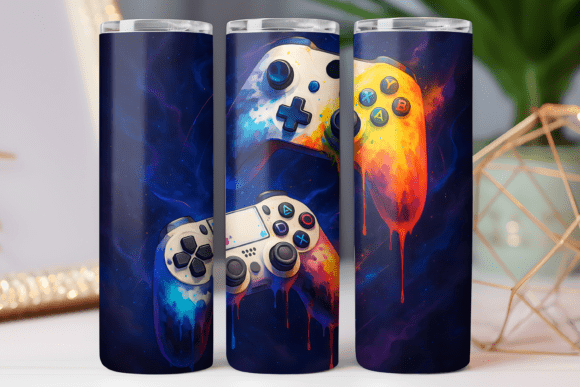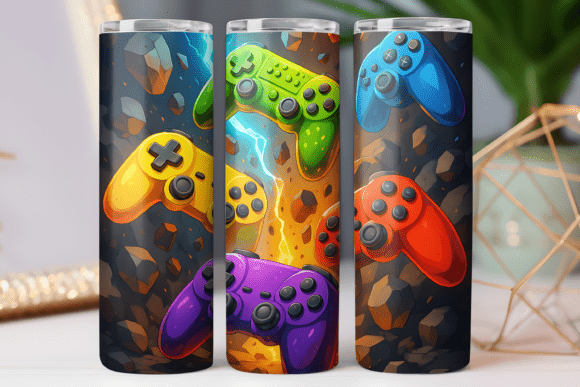
Neon Gaming Controller Santa Hat Tumbler – A Designer’s Guide to Getting It Right
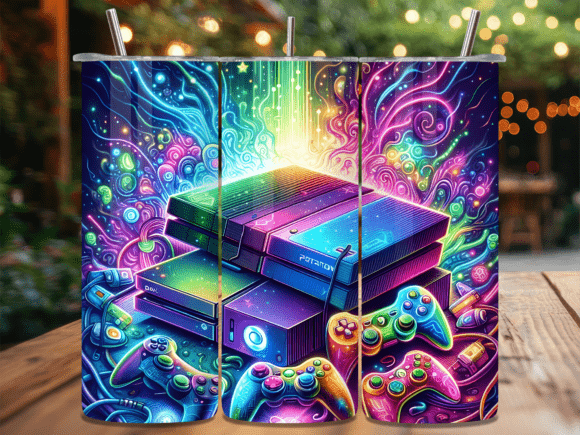
The Neon Gaming Controller Santa Hat Tumbler design has quickly become a favorite among sublimation creators, small business owners, and hobbyists who want to combine gaming culture with holiday flair. At first glance, it looks like a straightforward digital download: you purchase a PNG file, apply it to a 20oz tumbler, and you are done. In reality, there are several nuances that separate a polished final product from one that feels off. Whether you are a seasoned professional or just starting out, understanding what works—and what often goes wrong—can save you time, materials, and frustration.
This design is a digital sublimation wrap intended for 20oz tumblers. It comes in two variations: a straight 9.3 x 8.2 inch layout and a tapered 9.3 x 8.2 inch layout, both at 300 dpi. The neon gaming controller motif combined with a Santa hat gives it a unique crossover appeal that works well for gamers, holiday gifts, and pop culture enthusiasts. But getting the best result requires more than just downloading and printing.
Understanding the Difference Between Straight and Tapered Wraps
One of the most common oversights is assuming that any PNG file will fit any tumbler. The straight and tapered versions exist for a reason, and mixing them up can ruin an otherwise perfect transfer.
The straight wrap is designed for tumblers that have a uniform diameter from top to bottom. Think of a classic cylindrical cup. The tapered wrap, on the other hand, is meant for tumblers that narrow toward the base—the typical 20oz skinny tumbler shape. If you apply a straight wrap to a tapered tumbler, the design will either gap at the bottom or distort when you try to press it. If you apply a tapered wrap to a straight tumbler, you will likely have overlapping or misaligned edges.
Before you print, take a moment to measure your tumbler or confirm its shape. Many suppliers list whether a tumbler is straight or tapered. If you are unsure, err on the side of the tapered version, as it is more common for 20oz tumblers. But the safest approach is to keep both files on hand and choose based on your blank.
Resolution and Scaling – Why 300 dpi Matters
The download offers PNG files at 300 dpi. That is the industry standard for sublimation, but I have seen many people reduce the resolution without realizing the consequences. When you scale down a 300 dpi image to fit a smaller area, you are essentially throwing away pixels. When you scale it up, you introduce blurriness or pixelation.
The 9.3 x 8.2 inch dimension is already optimized for a 20oz tumbler. If you try to resize it significantly—say, to fit a 12oz mug or a larger 30oz tumbler—you will either lose detail or end up with a soft, muddy print. The fix is simple: use the file at its intended size. If you need a different size, look for a design that was created specifically for that blank. Do not rely on a single file to do double duty.
Another detail that often gets overlooked is the printable area of your sublimation paper. Make sure your printer settings match the dimensions exactly. Even a slight scaling adjustment in the print dialog can throw off the alignment. Always set scaling to 100% and disable any “fit to page” options.
Common Mistakes When Applying the Design
Sublimation is a process that rewards precision. Small errors compound quickly. Here are the mistakes I see most often with designs like the Neon Gaming Controller Santa Hat Tumbler:
- Not mirroring the image before printing. Sublimation transfers require the image to be reversed. If you forget to mirror it, the text or logo will appear backwards on the final product. Double-check your software settings before you hit print.
- Using the wrong tape or not enough tape. Thermal tape is essential to hold the paper in place during pressing. If the paper shifts even a millimeter, the design will be blurry or ghosted. Use heat-resistant tape and cover all edges.
- Pressing at the wrong temperature or time. Most sublimation inks require around 400°F for 60–90 seconds, but every tumbler material is slightly different. If you under-press, the colors will be dull. If you over-press, the design may bleed or the coating may degrade. Do a test press on a scrap piece of paper or an old tumbler before committing to the final product.
- Ignoring the seam. Tumbler wraps have a seam where the two edges meet. If you do not align the design carefully, the seam will be obvious. Some designs, including this one, have a natural break point. Study the PNG file before cutting to understand where the overlap should go.
Why Digital Download Means No Room for Error
This product is a digital download only. You will not receive a physical item, a printed wrap, or a tumbler. That might seem obvious, but I have encountered buyers who assume that a PNG file is a ready-to-press transfer paper. It is not. You are responsible for printing it onto sublimation paper, pressing it onto a blank, and handling the entire production process.
If you are new to sublimation, this is an important distinction. The design itself is excellent, but the result depends entirely on your equipment and technique. Do not expect a flawless outcome on your first attempt. Plan to test, adjust, and test again. The beauty of a digital file is that you can print it multiple times, but each attempt costs paper, ink, and blank tumblers. Invest in a few inexpensive blanks for practice.
Another misunderstanding: because the file is a PNG with a transparent background, some people assume they can just drop it onto a tumbler mockup and call it a day. For a digital preview, that works fine. But for physical production, you need to account for the white background that sublimation paper provides. The transparent areas will print as the color of your tumbler, so make sure your blank is white or a very light color. Dark tumblers generally do not work well with standard sublimation unless you use a special technique or a white toner printer.
Practical Advice for Getting the Best Result
Let me share a few approaches that consistently produce clean, vibrant tumblers with this design:
- Use a quality sublimation printer and ink. Not all inkjet printers are sublimation-ready. You need a printer that has been converted for sublimation ink, or a dedicated sublimation printer. Cheap ink can lead to faded colors and poor adhesion.
- Print at the highest quality setting. The 300 dpi file is sharp, but your printer might default to a lower quality to save ink. Set it to “best” or “high” in the print dialog. This is especially important for the neon colors in the controller design, which can look washed out if printed too fast or too lightly.
- Let the print dry completely. Sublimation ink stays wet longer than regular ink. If you handle the paper too soon, you can smudge the design before it ever reaches the press. Wait at least a minute, or use a heat gun on low to speed up drying.
- Use a heat press designed for tumblers. A standard flat press can work with a tumbler attachment, but a dedicated mug or tumbler press gives more even pressure and heat distribution. If you use a conventional press, wrap the tumbler carefully and use a silicone band or wrap to hold the paper in place.
- Peel while warm. Some papers recommend cold peel, others warm. The instructions that come with your sublimation paper should guide you. In general, peeling while the material is still warm (but not hot) helps the colors stay vibrant and reduces the chance of ghosting.
What to Check Before You Buy or Use This Design
Before you download and start printing, run through this checklist to avoid wasting time and materials:
- Confirm your tumbler size. This design is specifically for a 20oz tumbler. If you have a 12oz or 30oz blank, this file will not fit correctly.
- Know whether your tumbler is straight or tapered. Use the corresponding file. If you are unsure, measure the top and bottom diameter. A tapered tumbler will have a smaller bottom diameter.
- Check your printer’s maximum paper size. The file is 9.3 x 8.2 inches. Make sure your printer can handle 8.5 x 11 inch paper or larger. Most can, but some compact printers have limitations.
- Verify that you have sublimation paper and ink. Regular inkjet paper and ink will not work. You need specifically formulated sublimation supplies.
- Understand that this is a digital product. There is no physical item shipped. You are buying the right to print the design for personal or commercial use, depending on the license.
The Real Value of a Quality Design
What makes the Neon Gaming Controller Santa Hat Tumbler stand out is its attention to detail. The neon elements are designed to pop on a white tumbler, and the Santa hat adds a festive touch without overwhelming the gaming theme. When applied correctly, the result is a gift-worthy product that appeals to gamers, collectors, and anyone who enjoys a clever holiday design.
But a good design does not guarantee a good product. The difference between a professional-looking tumbler and a mediocre one often comes down to preparation and technique. By avoiding the common mistakes outlined above—mixing up straight and tapered files, printing at the wrong resolution, forgetting to mirror the image, or rushing the press—you set yourself up for success every time.
If you are creating these for sale or as gifts, take the extra time to dial in your process. Test on a scrap blank first. Keep notes on time and temperature. And do not be afraid to adjust. Sublimation is as much an art as it is a science, and the learning curve is part of the journey.
This design gives you a strong foundation. With the right approach, you will consistently produce tumblers that look clean, colorful, and professional—exactly what your customers or gift recipients will appreciate.